This article reviews the steps to restore a backup to the Identity Server (IDS). This article applies to the physical IDS100™, IDS200™, and IDS300™ appliances and the virtual IDS appliance.
Why restore a backup?
Restoring a backup is the best way to recover from a hardware failure or corruption of software that caused issues with your system. If you have been asked to factory reset your IDS appliance, then restoring a previously made backup is the fastest way to get back up and running.
Backups always include personal details, categories, and biometric data. Depending on settings they may also include personal portraits and biometric source imagery. The built in backup system does not back up encounters or IDS settings.
Restoring the backup will overwrite all enrollment data currently on the IDS with the enrollment data from the backup file. Restoring a backup will erase all enrollment data that is currently on your IDS. Please note that this does not include IDS settings. IDS settings will not be affected when restoring a backup. If you are restoring to a new IDS, then the settings will need to be manually configured after restoring a backup. Additionally, any enrollments that were made after the backup was created will need to be redone.
In order to restore a backup you must first create a backup. You can find a guide on how to create a backup in a separate article found here:
Back up the Identity Server (IDS)
Backups cannot be restored to the physical IDS appliance if they are larger than 2 GB in size. As a guideline, typically 2,500 people with imagery can be stored in a 2 GB backup. If imagery is not included, then typically 10,000 people can be stored in a 2 GB backup. In order to determine the exact size of your backup you must download it and view the file size. If you find that you are over or close to the 2 GB limit, turning off the "profile portraits" and "enrollment imagery" check boxes will significantly reduce the size of your backup file.
If you are running a virtual IDS and would like to restore a backup larger than 2 GB, please refer to the section at the bottom.
Restore your backup
The IDS home page can be found at https://<IP-address>:8443, where "<IP-address>" should be replaced with the IP address of the IDS. Navigate to the IDS home page and log in. Only users with the "admin" role can restore a backup.
Click on the "Settings" tab at the top of the screen, or the "Settings" link underneath the "Setup" heading.
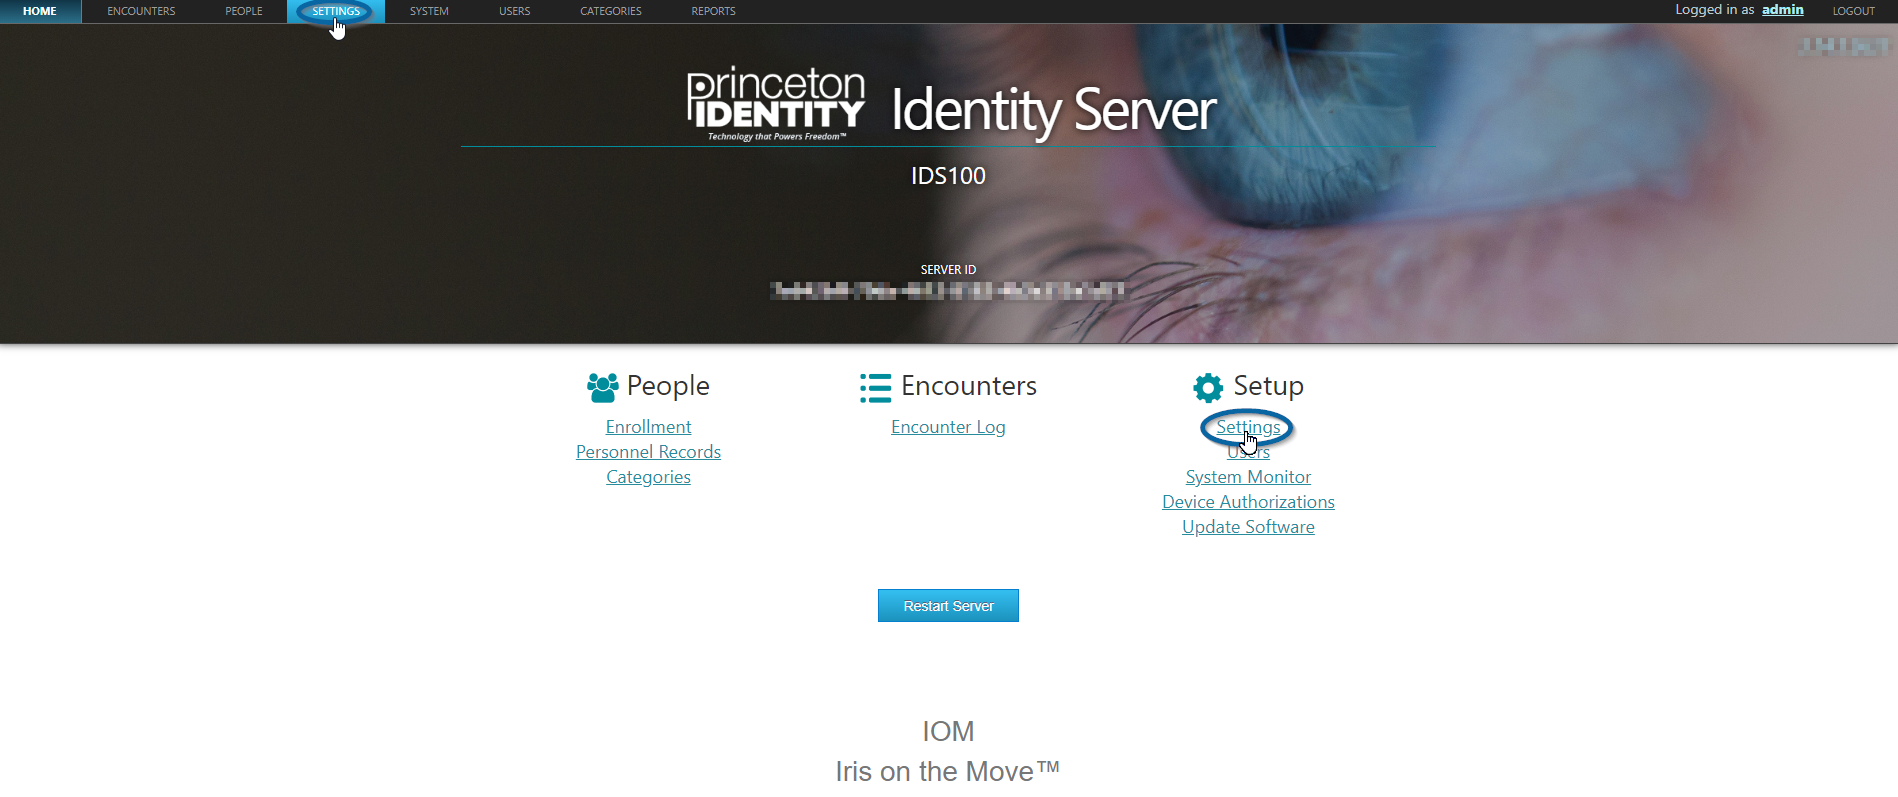
The locations of the "Settings" links on the home page
On the left side of the "Settings" page, click on "Backup".
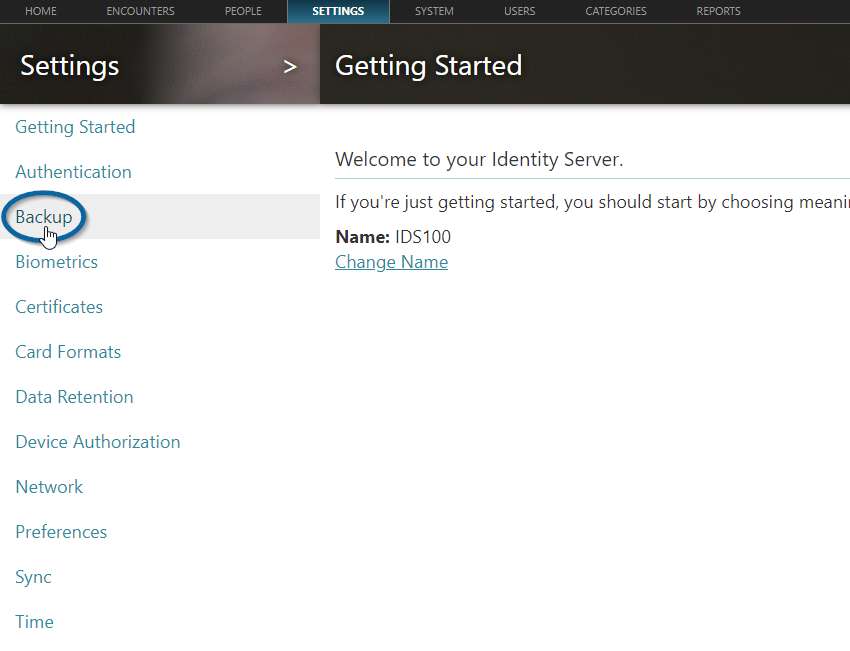
The location of the backup link
In the middle of the "Backup" page, click on "Restore from Backup".
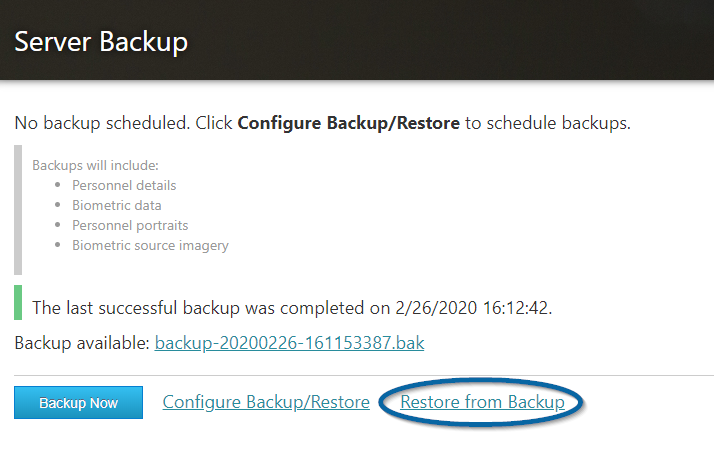
The location of the "Restore from Backup" link
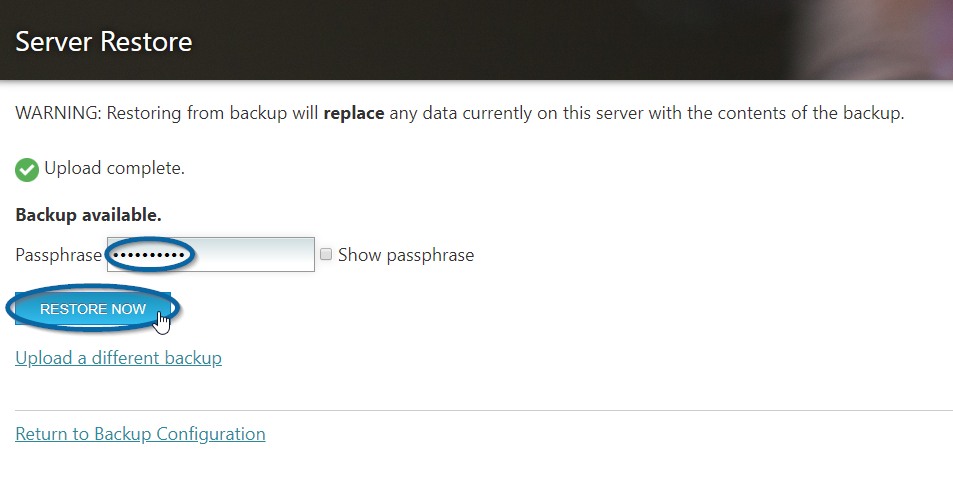
If you have previously saved a backup to the server, then you will see "Backup available." displayed on the page. If you wish to restore this backup, then enter the passphrase and click "Restore Now".
Note: Clicking "Restore Now" will restore the backup and erase all data currently on the IDS, replacing it with the data from the backup.
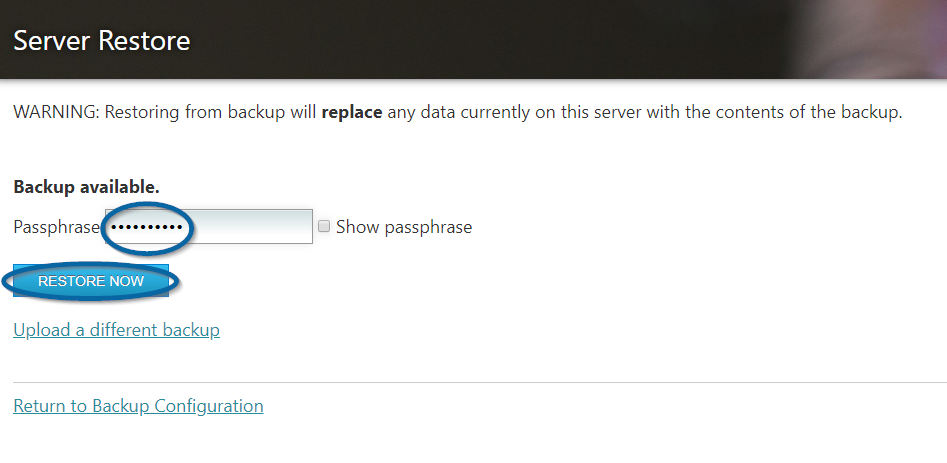
The location of the "Passphrase" text box and "Restore Now" button
If you have not previously saved a backup to the server or you would like to upload a different backup to the IDS, then click on "Upload a different backup".
Note: Uploading a different backup will replace the backup file that is currently stored on the IDS. If you wish to store the backup listed next to "Backup available" then it must be downloaded prior to uploading a different backup.
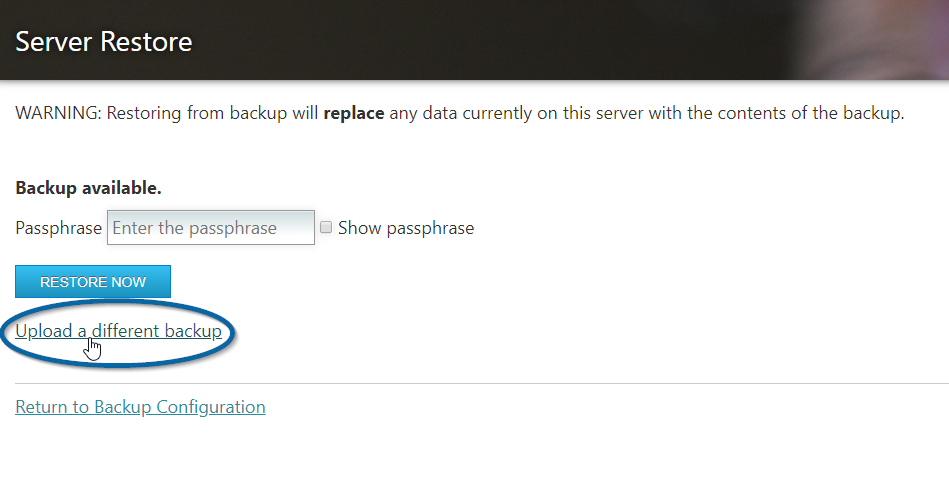
The location of the "Upload a different backup" button
On the next screen, click on "Browse for file...", select the backup file using the file explorer, and click "Open". Clicking "Open" will upload the backup file to the IDS.
Note: The backup file that you wish to use must be accessible from the computer that you are using to access the IDS web page.
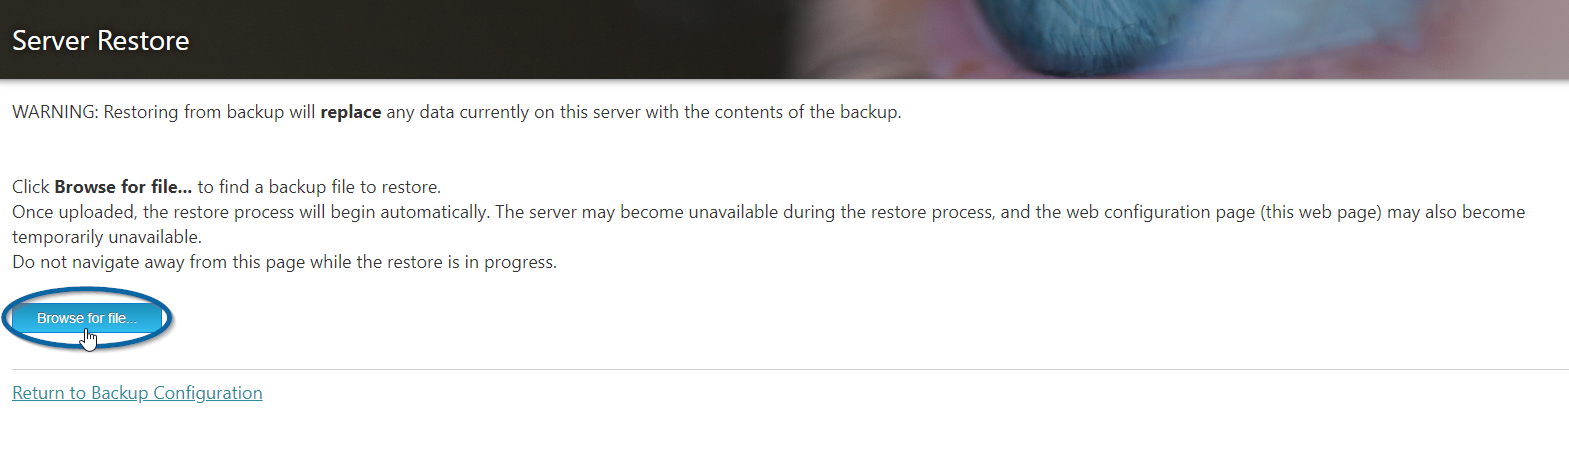
The location of the "Browse for file..." button
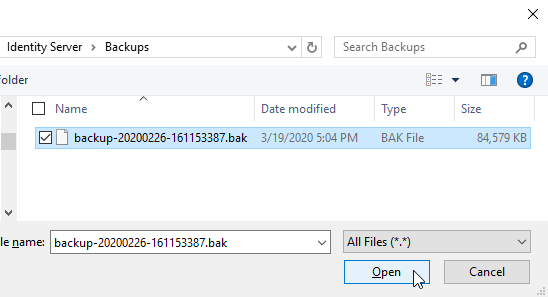
Selecting the backup file from the file explorer
Uploading the backup to the IDS
Once the backup is uploaded to the IDS, you will be prompted for the passphrase. Enter the passphrase and click "Restore Now".
Note: Clicking "Restore Now" will restore the backup and erase all data currently on the IDS, replacing it with the data from the backup.
The location of the "Passphrase" text box and "Restore Now" button
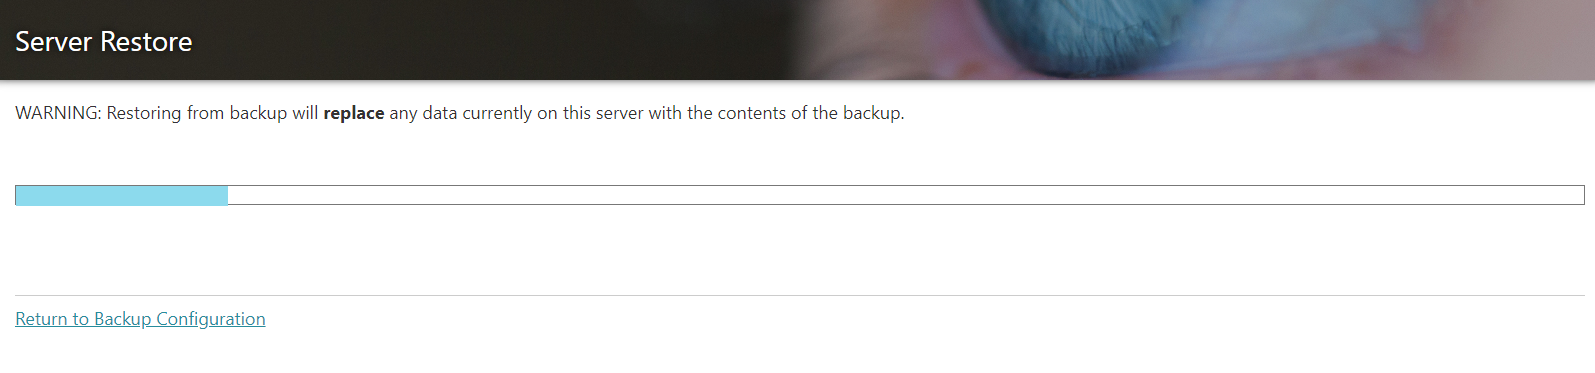
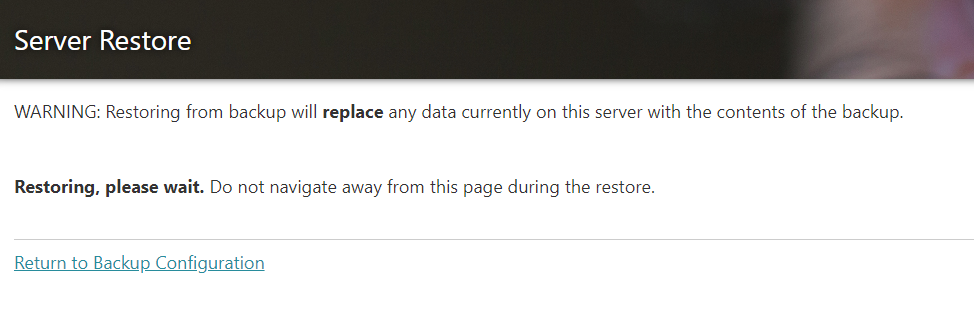
The backup will begin to restore and you will see the page informing you to remain on the page during the restore. This may take a few minutes.
IDS while restoring a backup
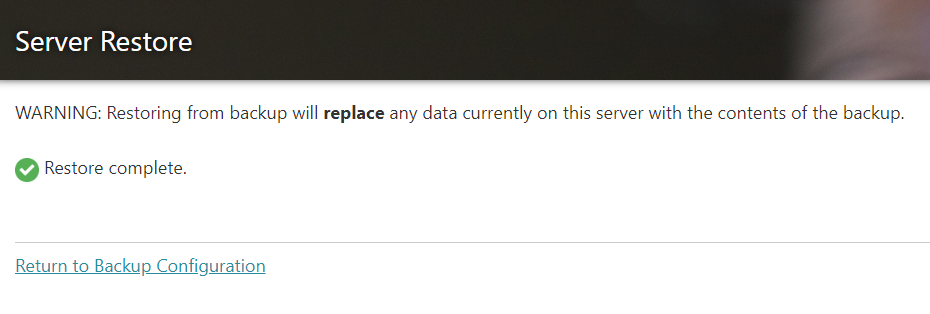
When the restore has completed you will see "Restore complete." on the screen with a green check mark. The check mark indicates the restore has been successful, and you can navigate away from this page.
IDS when restore is complete
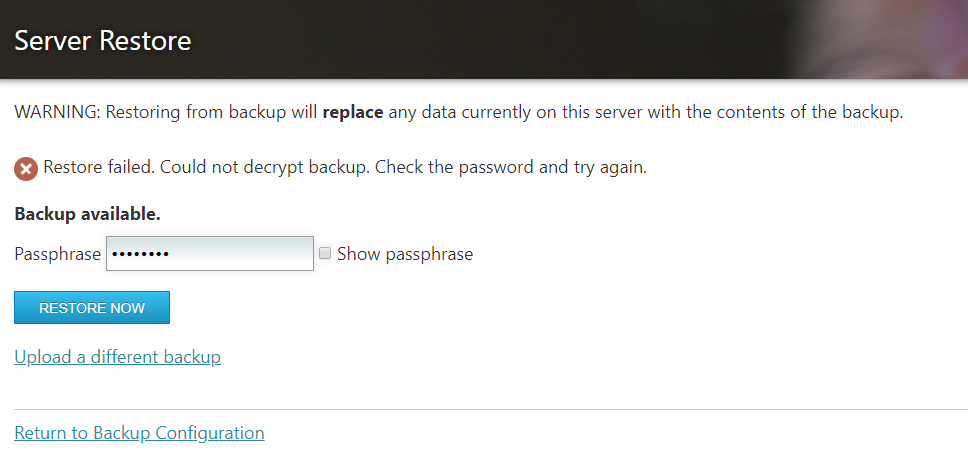
Troubleshooting: "Restore failed. Could not decrypt backup."
This screen is typically caused by using the incorrect passphrase when attempting to restore your backup. Please note that the passphrase at the time that the backup was created is the passphrase that must be used to restore the backup. The correct passphrase for restoring the backup may be different then the passphrase currently shown under the "Configure Backup/Restore" link.
If the passphrase has been lost then unfortunately there is no method for restoring this backup.
Page shown when the passphrase is incorrect
Restoring a larger than 2 GB backup on a virtual IDS
On the virtual IDS you have access to the file system. You are able to use the file system to bypass the web page and web interface when uploading the backup. This is useful in the case of restoring a backup file that is larger than 2 GB, because the web interface is limited to 2 GB.
Copy the backup that you would like to restore and paste it into the IDS backups folder, which is located at "/opt/pi/identity-server/data/backups/". This will upload the pasted backup to the IDS, and this backup will now be found on the IDS web page.
Note: Uploading a backup will replace the backup file that is already stored on the IDS. If you wish to store the backup listed next to "Backup available" then it must be downloaded prior to uploading a different backup.
Now return to the top of the guide, and follow the directions for restoring the backup that is available on the IDS. This is now the backup that you pasted into the folder.