Overview
This article describes the steps to integrate a Princeton Identity IDS with a LDAP server. Currently, IDS LDAP authentication is limited to Windows Active Directory servers. The configuration requires the following information:
- IDS user with admin permissions
- LDAP domain name, host name, and TCP port number (389 by default)
The sections below detail the steps of configuring the IDS to use LDAP authentication.
Configure the IDS for LDAP Authentication
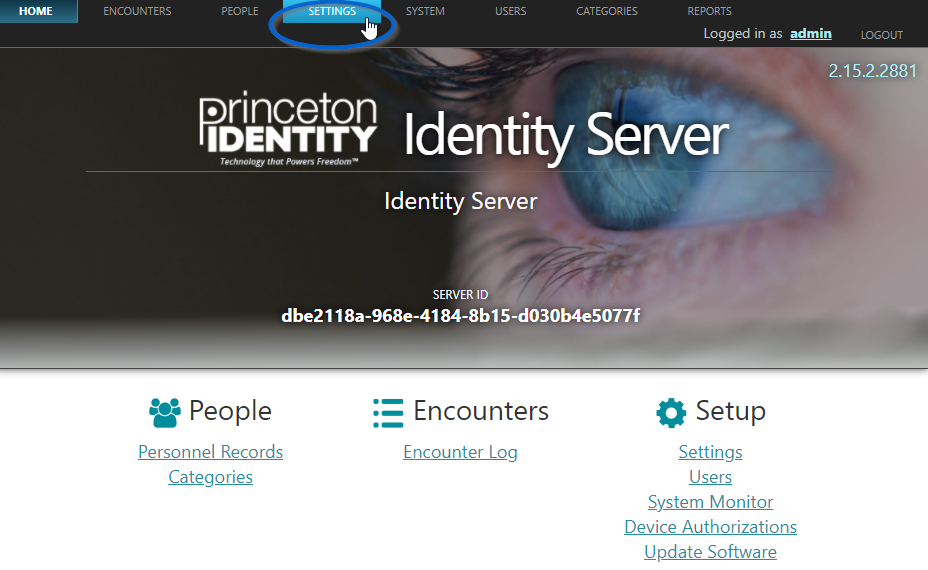
Sign into the IDS using an admin role account.
Navigate to the SETTINGS tab as found along the top navigation bar.
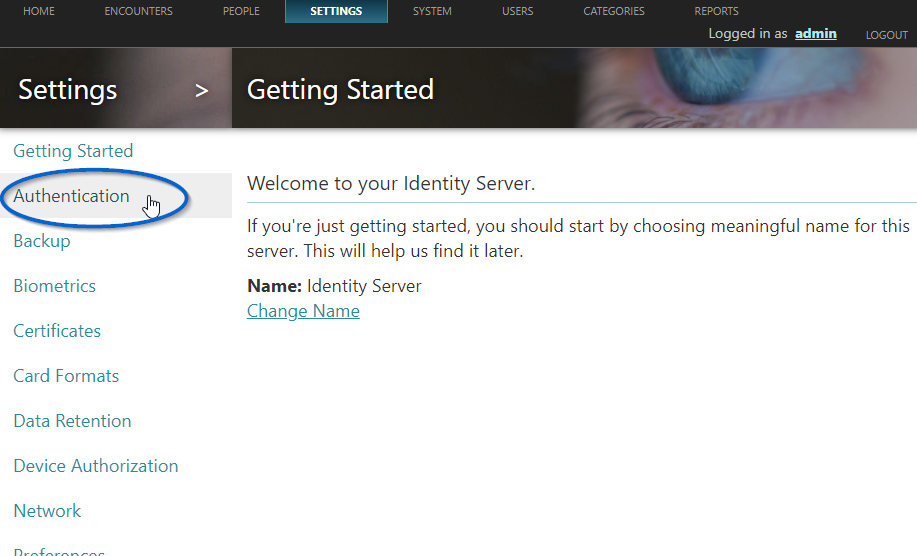
Click "Authentication" as found on the left pane of the screen.
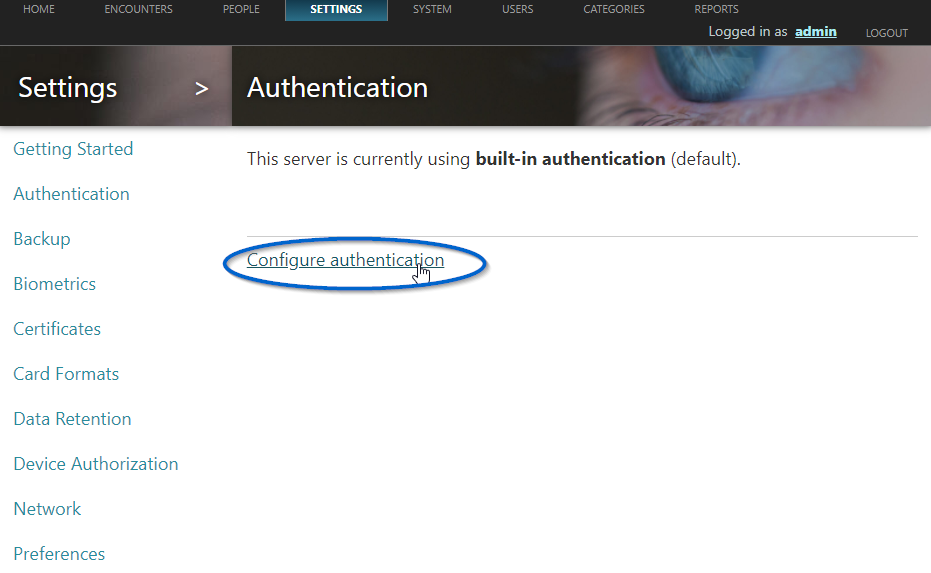
On the resulting page, click "Configure authentication"
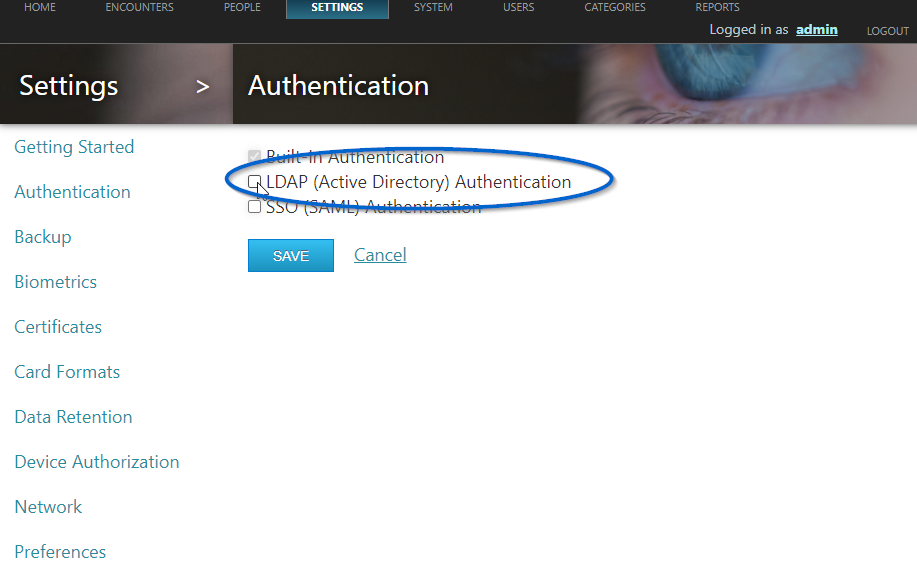
Check the box to the left of “LDAP (Active Directory) Authentication” as indicated in the figure below.
Enter the LDAP domain name, the host name, and the port number (389 is the default well-known TCP port number for LDAP) in the edit fields.
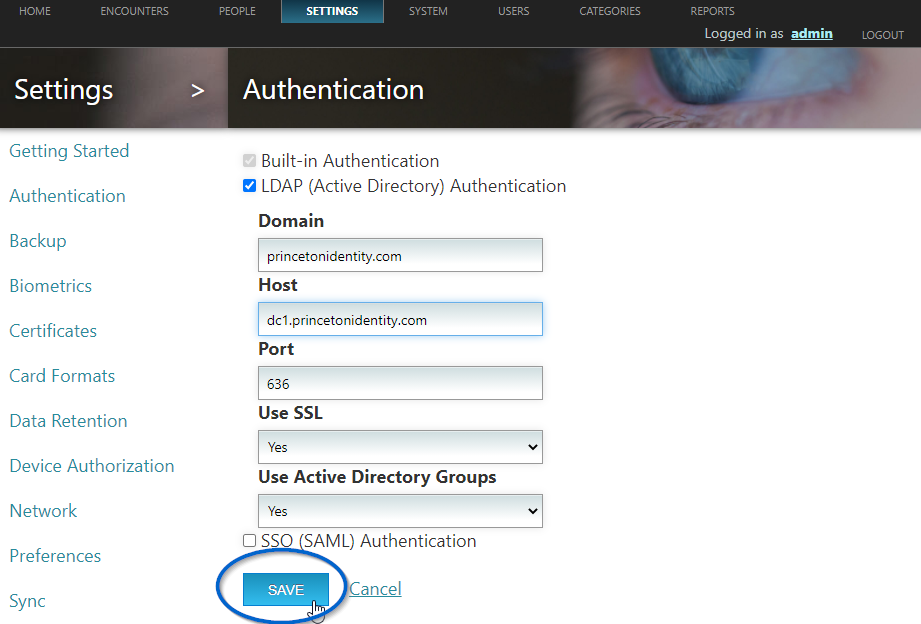
NOTE: If you change "Use SSL" to "Yes" you will likely need to change the port to 636, as shown in the figure above. The Active Directory server must have a valid non-expired SSL certificate in order for IDS to successfully connect via LDAPS protocol.
Princeton Identity recommends setting "Use Active Directory Groups" to "Yes" so users can be added to groups in Active Directory and upon login to IDS they will automatically get role permissions based on the group they are in.
Click the SAVE button to save the configuration as shown in the figure above. NOTE: You will need to restart the IDS for any authentication changes to take affect.
Once configured, users should login to IDS using their full User Principal Name (UPN) from Active Directory. For example, test.user@example.com (where example.com could be one of many UPN suffixes depending on the Active Directory configuration).
Create Active Directory Groups
To use Active Directory security groups with IDS, the security groups must be created and named exactly as follows in order to assign the correct roles and permissions to IDS users:
Basic role - “ids-users”
Enroller role - “ids-enrollers”
Admin role - “ids-administrators”
These security groups can be created as either Global or Universal in Active Directory.